They can be a real headache, especially if you enjoy outdoor activities, pottery, or have kids who love to explore. These stubborn stains can ruin your favorite garments if not treated promptly and effectively. Whether it’s red clay from a baseball field or white clay from a pottery class, these stains require special attention. This article aims to be your ultimate guide for tackling these pesky stains, offering step-by-step instructions, common mistakes to avoid, and alternative methods for stain removal. So, let’s dive in and learn how to conquer clay stains on clothes.
Types
They’re not all created equal, you know? Let’s break it down by looking at the most common types of clay stains you might encounter and how they interact with different fabrics.
Red Clay
Ever played baseball or gone hiking and ended up with those notorious red clay stains? Yeah, they’re a pain. Red clay is rich in iron, which makes it particularly stubborn to remove. It loves to cling to cotton and other natural fibers, making your white t-shirt its canvas.
White Clay
White clay, often found in pottery classes or certain types of soil, is a bit easier to tackle. It doesn’t have the iron content that red clay does, but don’t underestimate it. It can still set into your fabric and become a permanent resident if you’re not quick to act.
Colored Clay
Then there’s colored clay, like the kind kids use for arts and crafts. This one’s tricky because it’s not just the clay you’re dealing with; it’s also the dyes in the clay. So, you’ve got a two-for-one special in stain removal. Lucky you!
How Different Clays Affect Different Fabrics
Now, let’s talk fabric. Natural fibers like cotton and linen are like sponges for clay stains. Synthetic fibers like polyester are a bit more forgiving but don’t get too comfortable. Each type of clay has its own “personality” and reacts differently with various fabrics. For example, red clay and cotton are a match made in stain heaven, while white clay might be easier to remove from synthetics.
Pre-Treatment: The First Step
The nitty-gritty of stain removal: pre-treatment. Trust me, this step is like the unsung hero of the whole process. Skipping it is like trying to bake a cake without preheating the oven; you’re setting yourself up for failure.
Importance of Pre-Treatment
So why is pre-treatment so crucial? Well, clay stains are sneaky. They have these tiny particles that can work their way deep into the fabric. Pre-treatment acts like a stain detective, getting in there and loosening up those particles before the actual wash. It’s like giving the stain a little “Hey, it’s time to go!” nudge.
DIY Pre-Treatment Solutions
If you’re a fan of DIY solutions, you’re in luck. A mixture of white vinegar and salt can work wonders. Just apply it to the stain and let it sit for about 30 minutes before washing. Another option is to make a paste out of baking soda and water. Apply it to the stain, let it dry, and then brush it off before throwing the garment in the wash.
Commercial Pre-Treatment Products
Now, if DIY isn’t your thing, there are plenty of commercial pre-treatment products that can do the job. Brands like Tide and Clorox have specialized stain removers designed for tough stains like clay. Just make sure to read the instructions carefully, especially if you’re dealing with delicate or colored fabrics.
Step-by-Step Guide to Removing Clay Stains

So you’ve got a clay stain. Don’t panic! The first few steps you take can make a world of difference. Let’s walk through them, shall we?
Initial Steps
Step 1. Removing Excess Clay

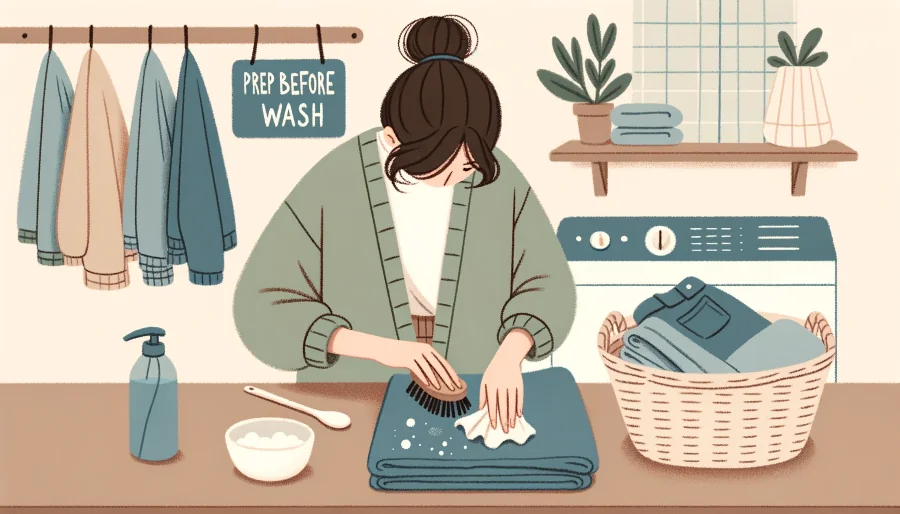
First things first, get rid of any excess clay. I know it’s tempting to immediately throw the stained garment into the wash, but hold on a sec. Wait for the clay to dry, yes, dry. Once it’s dry, you can easily brush off the excess. This way, you’re not smearing it further into the fabric. Use a soft brush or even the edge of a spoon to gently scrape off the dried clay. It’s like prepping a canvas before painting; you want to start with a clean slate.
Step 2. Rinsing with Cold Water

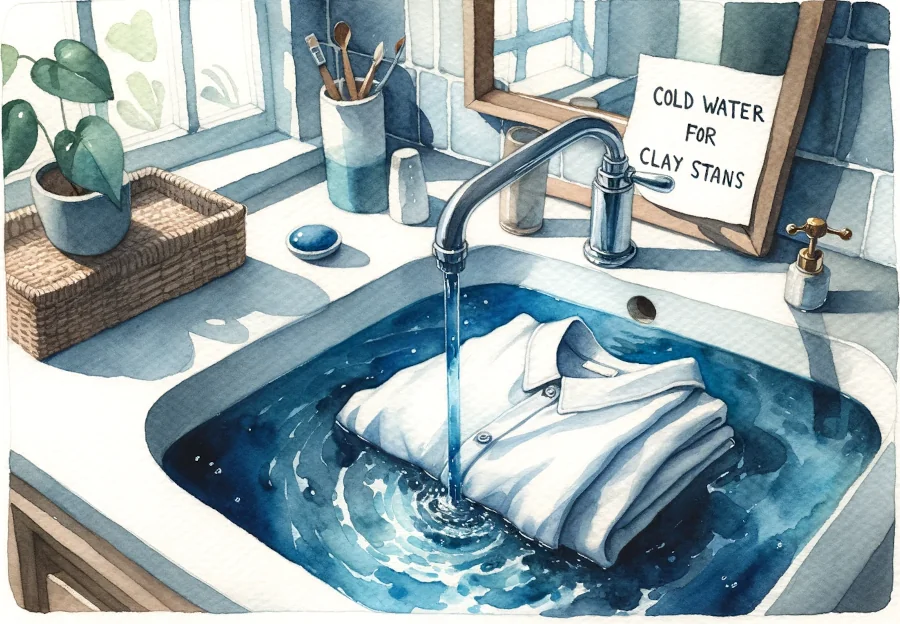
Next up, rinsing. And listen, the temperature matters. Use cold water, not warm or hot. Hot water can actually set the stain, making it even more stubborn to remove later. Just run the stained area under cold water to flush out as much of the clay as possible. The idea is to get those tiny clay particles loosened up before you go in with any detergents or pre-treatments.
Soaking

This is where the real magic happens. Think of soaking as the spa day your stained clothes desperately need. It’s all about relaxation and rejuvenation, but for your fabrics.
Soaking Solutions
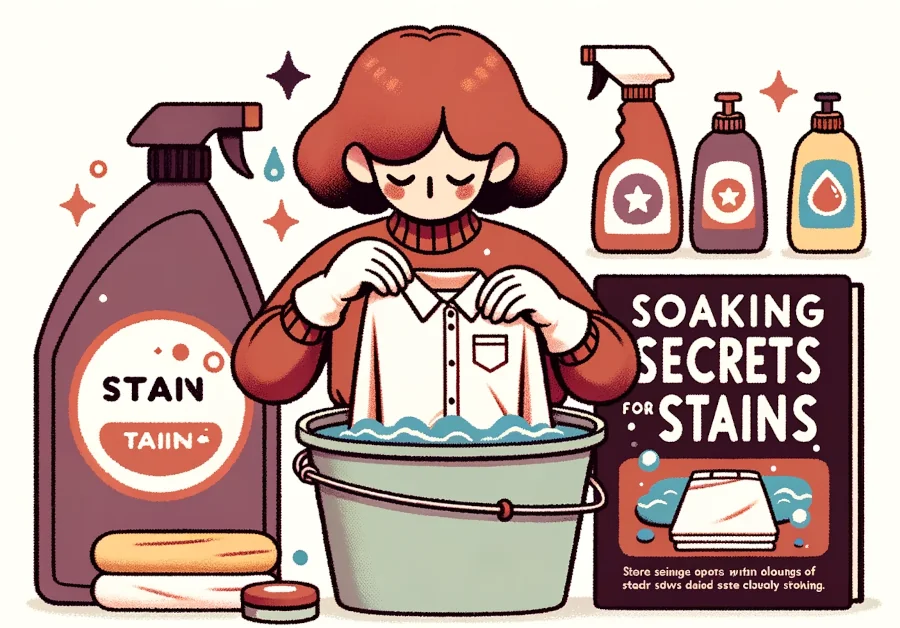
When it comes to soaking solutions, you’ve got options. For a DIY route, you can mix a tablespoon of salt and a cup of white vinegar in a bucket of cold water. If you’re more of a “let’s get this done” kind of person, commercial soaking solutions like OxiClean1 or Tide’s stain remover work wonders2. Just follow the instructions on the package, and you’re good to go.
Step 3. Soaking Time Based on Fabric Type
Now, how long should you soak? Ah, the million-dollar question! The answer depends on the fabric type. For sturdy fabrics like cotton, you can soak for up to an hour or even overnight for those really stubborn stains. For more delicate fabrics like silk or wool, 30 minutes should do the trick. The key is to check the garment’s care label. It’s like the fabric’s personal diary, telling you all its likes and dislikes.
Washing

Alright, we’ve pre-treated, we’ve soaked, and now it’s time for the main event: washing. This is where we roll up our sleeves and get those stains out for good. Let’s dive in!
Detergent Types
First up, let’s talk detergent. Not all detergents are created equal, especially when it comes to clay stains. For everyday stains, your regular detergent might do the trick, but for clay? You might need to bring in the big guns. Heavy-duty detergents like Tide or Persil are formulated to tackle stubborn stains. If you’re into eco-friendly options, there are green detergents out there that are surprisingly effective too. Just make sure to read the label to see if they’re up to the task.
Step 4. Washing – Wash Cycle Settings
Now, onto the wash cycle settings. You might think, “Just crank it up to the highest setting and let it rip,” but hold on a minute. The setting you choose should be based on the fabric type and the care label instructions. For sturdy fabrics like cotton, a regular or heavy-duty cycle works well. For delicates, you’ll want to go easy and choose a gentle cycle. And here’s a pro tip: use cold water for the wash cycle. We’ve already loosened up the stain during pre-treatment and soaking, so cold water should do the job without setting the stain.
Post-Wash

The drum roll starts as you open the washing machine door. This is the moment of truth: did the stain come out or not? Let’s talk about what to do next.
Step 5. Checking for Stain Removal
First off, before you even think about drying, inspect the stained area closely. Seriously, get in there like you’re a detective looking for clues. If the stain is gone, give yourself a high-five; you’ve earned it! But if it’s still there, don’t lose hope. We’ve got more work to do.
Step 6. Repeating the Process if Necessary
If the stain is being a stubborn little thing and refuses to leave, it’s time for Round 2. Yep, you’ll need to repeat the process. Go back to pre-treating and soaking, and then wash again. It’s like a video game where you didn’t pass the level, so you have to start over. Annoying? Sure. But beating the level (or in this case, beating the stain) will be oh-so-satisfying.
One thing to remember: don’t, and I mean DON’T, put the stained clothes in the dryer until you’re sure the stain is gone. Heat can set the stain, making it nearly impossible to remove later. So air dry the garment first to play it safe.
Mistakes to Avoid
Mistakes, who me? We’ve all made them, especially when it comes to laundry. But hey, that’s how we learn, right? Let’s talk about some common pitfalls you’ll want to avoid when tackling clay stains. Trust me, steering clear of these mistakes can save you a lot of time and frustration.
Using Hot Water Initially
First up, hot water. It might seem like the go-to choice for getting out tough stains, but not so fast! Hot water can actually set clay stains, making them even more difficult to remove later on. It’s like giving the stain a VIP pass to stay on your clothes. So, always start with cold water, especially during the initial rinse and pre-treatment stages.
Not Removing Wet Clay Immediately
Next, let’s talk timing. If you get a clay stain, don’t wait for a more “convenient” time to deal with it. The longer wet clay sits on your fabric, the deeper it penetrates. It’s like giving the stain a head start in a race you’re trying to win. So, as soon as you notice the stain, start the removal process. Brush off as much of the wet clay as you can, and then move on to rinsing and pre-treating.
Incorrect Detergent Usage
Last but not least, detergent. You might think, “A detergent is a detergent, right?” Wrong! Using the wrong type of detergent can be counterproductive. For example, using a delicate detergent for a heavy-duty stain is like bringing a knife to a gunfight; you’re just not adequately equipped. Always read the label to make sure the detergent you’re using is suitable for both the fabric and the type of stain you’re dealing with.
Alternative Methods
Time to explore some of my alternative methods.
Using White Vinegar and Salt
First up, the dynamic duo of white vinegar and salt. This combo is like the Batman and Robin of stain removal. Mix a cup of white vinegar with a tablespoon of salt, apply it to the stain, and let it sit for about 30 minutes. The vinegar helps to break down the stain, while the salt acts as a mild abrasive to help scrub it away. After that, wash as usual and check the results. You might just be pleasantly surprised!
Using Ammonia and Washing Powder
Next on the list is ammonia and washing powder. Now, this is a heavy-duty option, so make sure you’re in a well-ventilated area and wearing gloves. Mix a tablespoon of ammonia with your regular washing powder and apply it to the stain. Let it sit for about 15 minutes before washing. Just a heads-up, though: ammonia can be harsh, so this method is best for sturdy fabrics like cotton and denim.
Natural vs. Commercial Methods
Now, you might be wondering, “Should I go natural or commercial?” Good question! Natural methods like vinegar and salt are great for those who prefer eco-friendly options. They’re also less harsh on fabrics. Commercial methods, on the other hand, are generally more potent and can tackle stubborn stains more effectively. It’s like choosing between a home-cooked meal and fast food; both have their pros and cons, and the best choice depends on your needs and preferences.
Special Fabrics and Surfaces
I’ve talked a lot about clothes, but what about those other places where clay stains love to make an appearance? I’m talking about upholstery, carpets, and even athletic wear. These surfaces have their own set of rules, so let’s dive in.
Upholstery
Upholstery, the comfy couches and chairs that somehow become magnets for stains. If you’ve got clay stains on your upholstery, first check the care label. Some fabrics are more delicate than others and may require professional cleaning. But for most upholstery, a mild detergent and water solution should do the trick. Just dab it on the stain with a cloth and gently blot. Avoid scrubbing, as that can spread the stain. It’s like petting a cat; gentle strokes are key.
Carpets
Now, carpets. These are a bit trickier because you can’t just toss them in the washing machine, right? For carpets, you’ll want to start by vacuuming up any dried clay. Then, use a carpet cleaner specifically designed for mud or clay stains. Apply it according to the instructions, and then blot with a clean cloth. If you’re worried about discoloration, test a small, hidden area first. It’s like sampling a new dish before serving it to guests; better safe than sorry.
Athletic Wear
And let’s not forget athletic wear. These fabrics are often synthetic and designed to wick moisture, which can make stain removal a bit challenging. For these, pre-treat the stain with a detergent that’s made for synthetics and then wash in cold water. Avoid using fabric softener, as it can interfere with the fabric’s moisture-wicking properties. Think of it like putting regular gas in a high-performance car; it just doesn’t jive.
FAQs
Can I use bleach?
Yes, you can use bleach, but with caution. It’s effective for white fabrics but can damage or discolor colored or delicate materials. Always read the care label and follow the instructions for using bleach.
How long should I soak the stained clothes?
The soaking time depends on the fabric type. For sturdy fabrics like cotton, soaking for up to an hour or even overnight can be effective. For delicate fabrics, 30 minutes should suffice.
Is it safe to mix different types of detergents?
It’s generally not recommended to mix different types of detergents. Mixing can lead to chemical reactions that might not be effective for stain removal and could even damage your clothes.
Does clay come out of clothing?
Yes, clay can be removed from clothing, but the method may vary depending on the type of clay and fabric. Following a proper stain removal process is crucial.
Are mud stains permanent?
Mud stains are not usually permanent if treated promptly and correctly. The key is to act fast and follow a thorough stain removal process.
Will vinegar remove mud stains?
Yes, vinegar can be an effective natural alternative for removing mud stains. It works well when mixed with salt and used as a pre-treatment solution.
How do you get brown mud stains out of clothes?
Brown mud stains can often be removed by pre-treating the stain with a detergent, soaking in a stain-removing solution, and then washing in cold water. For stubborn stains, a second treatment may be necessary.
How to remove red clay stains from white clothes?
Red clay stains can be particularly stubborn due to their iron content. Pre-treatment with a heavy-duty stain remover, followed by soaking and washing in cold water, is usually effective. For white clothes, a mild bleach can also be used as a last resort.
Case Study: Restoring the Pristine White Uniforms of the “Boro Sluggers” Baseball Team

Introduction
The “Boro Sluggers,” a local youth baseball team, had just wrapped up an intense game on a field that had recently been hit by rain. The aftermath? Their once-white uniforms were marred by various types of clay and mud stains. The responsibility of restoring these uniforms fell on the shoulders of their dedicated manager, Mike, a good friend of mine. This case study delves into how Mike tackled this formidable task using a blend of techniques we’ve previously discussed.
The Problem
- Types of Stains: Predominantly red clay from the infield, along with some brown mud and grass stains.
- Fabric Type: Cotton blend, known for comfort but also its tendency to absorb stains.
- Volume: 15 full sets of uniforms, each with multiple stains.
- Time Constraint: Next game scheduled in just 4 days.
The Approach
Initial Assessment
Mike began by sorting the uniforms based on the type and severity of the stains. He quickly realized that the red clay stains were the most stubborn.
Pre-Treatment
Mike opted for a DIY pre-treatment solution made of lemon juice and salt for the red clay stains. He applied the mixture and gently scrubbed it into the fabric using a toothbrush.
Soaking
Mike used large buckets for soaking the uniforms. He prepared two soaking solutions: one with white vinegar and salt for a natural approach, and another using a commercial stain remover.
Washing
The uniforms were washed in a standard washing machine, using a detergent specifically designed for cotton fabrics. Mike chose a cold water cycle to prevent the stains from setting.
Post-Wash Check
After washing, Mike inspected the uniforms. While most of the stains were gone, a few red clay stains required further attention.
The Results
- White Vinegar and Salt Soaking: Effective for brown mud and grass stains but less so for red clay.
- Commercial Stain Remover: Successfully removed all types of stains, including red clay.
- Washing: A second wash was needed for a few stubborn red clay stains.
Lessons Learned
- DIY pre-treatment solutions can be effective but may require more effort.
- Commercial stain removers are generally more reliable for stubborn stains like red clay.
- Always read the fabric care labels to choose the appropriate detergent and washing settings.
Conclusion
Through a combination of pre-treatment, soaking, and strategic washing, Mike successfully restored the Boro Sluggers’ uniforms to their original white glory. This case study proves that even the most challenging clay stains can be defeated with the right approach and some dedication.
Follow-Up
The Boro Sluggers not only won their next game but also looked incredibly sharp in their restored uniforms. Mike has now compiled a “Stain Removal Handbook” based on his experience, ensuring that future managers will know exactly how to tackle stubborn stains.
Footnotes


