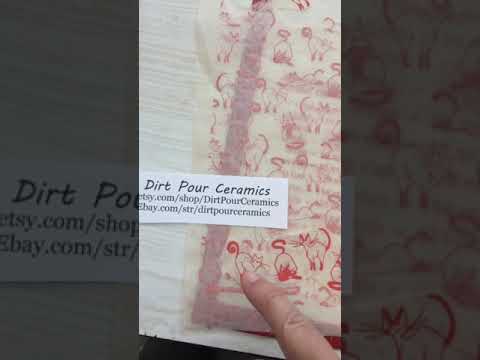
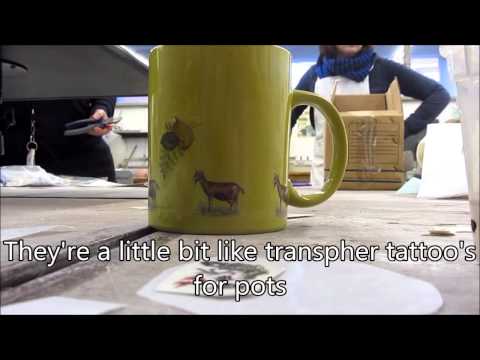
Transfer the design by spritzing the surface of the clay with water. The moisture allows the newsprint to adhere. Next, lay the newsprint, glaze side down, on the clay. Use a sponge, lightly pressing the newsprint onto the clay surface.
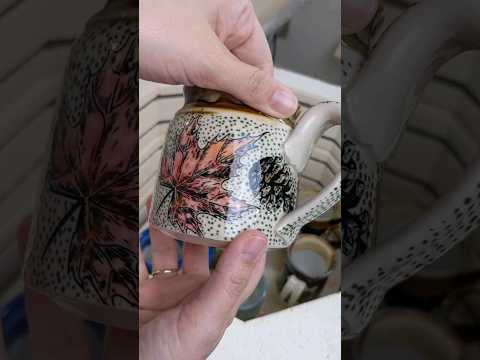
Instructions to transfer a butterfly design (or any design) onto pottery!
Applying transfers
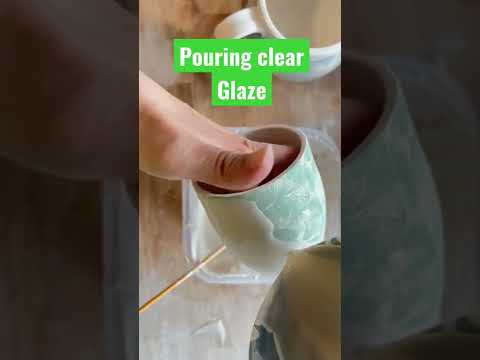
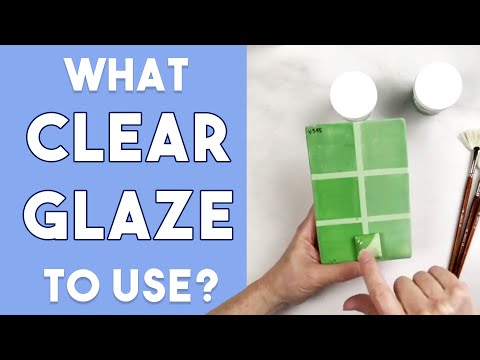
Glaze transfers, also known as ceramic decals, are a popular way to add detailed designs to ceramic pieces. How do you apply them?
Can you put them on bone dry clay? The technique would be to place the image face down and then apply a wet sponge to the back.
Can underglaze be applied to bisque? Basically the same technique applies. place the image face down and apply a wet sponge to the back.
What is the best paper to use? Hands down is newspaper print paper. And of course a flat surface is preferred. Newspaper print is thicker. In addition some potters use rice paper. The advantage is rice paper is thinner so it conforms to uneven surfaces better.
Experts give their advice

My top tip for applying glaze transfers to ensure your success. Test first if its your first time. Do a test firing with a sample piece and evaluate the results.

Handle with care because transfers can tear very easily when they are wet. So be careful.
Another good tip is to avoid overlapping. If you overlap transfers this can cause issues during firing. So make sure to leave space between them if using multiple transfers.
Do you have advice you would like to share?
Steps
1. Preparation
- Choose Your Piece: Ensure the ceramic piece is bisque fired and clean. Any dust or grease can affect the transfer’s adhesion.
- Select a Glaze Transfer: Choose a transfer that complements your piece’s shape and style.
2. Cutting and Planning
- Cut the Transfer: Trim the transfer to the desired size and shape. Be precise to ensure it fits your piece well.
- Plan Placement: Dry-fit the transfer on the piece to decide the exact placement. This step is crucial for a symmetrical or balanced design.
3. Soaking
- Soak the Transfer: Submerge the transfer in warm water for about a minute. This activates the adhesive and separates the transfer from its backing paper.
4. Application
- Slide onto the Piece: Carefully slide the transfer from the backing paper onto the ceramic piece. Use a sponge or your fingers to gently maneuver it into place.
- Smooth Out Air Bubbles: Use a rubber rib or a soft brush to smooth out any air bubbles and ensure good contact with the ceramic surface. Be gentle to avoid tearing the transfer.
5. Drying
- Let It Dry: Allow the transfer to dry completely. This can take a few hours to overnight, depending on the humidity and temperature.
6. Firing
- Fire Your Piece: Follow the specific firing instructions for your transfer. Most glaze transfers require a low to mid-range firing temperature. Make sure to use the correct kiln settings to avoid burning out the design.
Tracing a Butterfly Design onto Newsprint Paper
Gather Your Materials:
- Mako designer liner with a thin trailing tip. I prefer using the AMACO applicator and then fill with Stroke and Coat instead of using the Mako designer with a trailing tip. You can get here: Mako Stroke and Coat for Ceramics and AMACO mixed media applicator
- Rubber ribs. I usually buy several then I’m good for a while. You can get here: Soft Rubber Rib for Pottery Clay
- A butterfly picture. You can download for free here: Monarch Butterfly Free Download and here Swallowtail Butterfly Design and here Whimsical Butterfly
- Pencil and pen
- Newsprint paper. I prefer the school smart newsprint drawing paper. You can get here: Newsprint Drawing Paper
- A sponge
- And last but no least you will need some clay, right! And a good mid fire light clay works great like Rocky Mountain Clay. If you do not have a light colored clay then you can get it here: Rocky Mountain Clay
I came up with this design you can download for free. Download the image, size on your printer and print on newspaper print or trace onto newspaper pint. Then outline in glaze and let dry. You are now ready to transfer your design on to your pottery! Monarch Butterfly Free Download
Trace the Butterfly:
- Without a lightbox, hold the butterfly picture against a window for backlighting. But since I use this technique a lot, I bought a low-cost lightbox. These are so cheap nowadays you really can’t go wrong. Now you don’t have to depend on a sunny day! You can get one here: Board Light Tracing Box
- Trace the butterfly onto the newsprint paper.
- Freehand additional details to enhance the design.
- Cut out the traced image.
Applying Underglaze:
- Attach the liner tip to the bottle top of the Mako designer liner or AMACO applicator filled with Stroke and Coat of your favorite color.
- Test the flow on a scrap piece of paper.
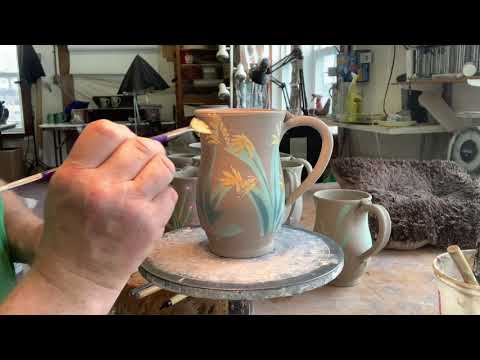
- Trace over the lines of your butterfly design with the liner.
- Alternatively, use a detailer brush to apply underglaze.
- Allow the underglaze to dry completely.
Transferring the Design
Here is another design you can use for free. Just download it! Swallowtail Butterfly Design
Transfer the Design:
- After about 10 minutes, the underglaze on the paper should be dry.
- Turn over the design and place it on a plate or cup, whatever pottery you want.
- Use the rubber rib to press the paper onto the clay.
Moisten the Underglaze:
- If the clay is too dry, dampen a sponge and gently pounce it over the paper to re-moisten the underglaze.
- Avoid rubbing; just gentle pouncing.
- The image should start appearing through the paper.
Peel and Reveal:
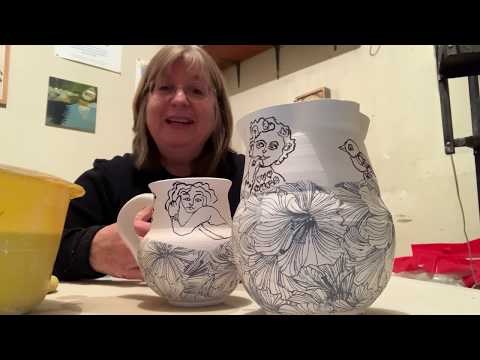
- Carefully peel off the paper to reveal the transferred underglaze design.
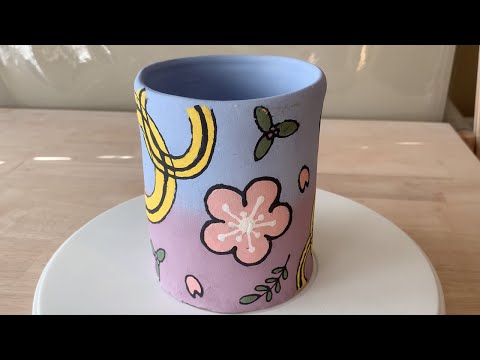
Final Touches:
- Add additional designs like flowers or foliage, freehand drawing around the butterfly.

Don’t forget to add your finishing touches! Download this design here: Whimsical Butterfly