Methods of Clay Firing
The three most common methods of firing clay in an electric kiln are 1. Manually thru a peephole or spy hole, 2. Use of a kiln sitter, and 3. Use of an electronic controller. Electric kilns not only provide excellent results but also provide control and dependability. With advancements in electric kiln controls, kilns are becoming more flexible, affordable, and simple to use.
The most widely used form of firing is by an electric kiln. I can fire an electric kiln in one of three ways. By manually turning the kiln on and off, and observing the cones within the kiln via a peephole to see when the kiln should be turned off.
By manually turning the kiln on and off, and utilizing a kiln sitter to switch the kiln off when it reaches the desired temperature. And my favorite way is by using an electronic controller and programming the kiln to turn on and off as needed.
Method 1 Firing Clay Manually Using A Peephole
Safety is foremost. When looking into a hot kiln through a peephole, you should wear eye protection. This is one of the main reasons I do not manually fire clay.
I can’t stand to look through the peephole at a red hot fire source. But if you do, then make sure to wear the right safety glasses and maybe even consider wearing a heat reflective face shield.
When a kiln is red hot, it is generating infrared radiation that can cause harm to the naked eye looking in through a peephole. Every potter regardless of using an electric kiln or a gas kiln should wear eye protection.
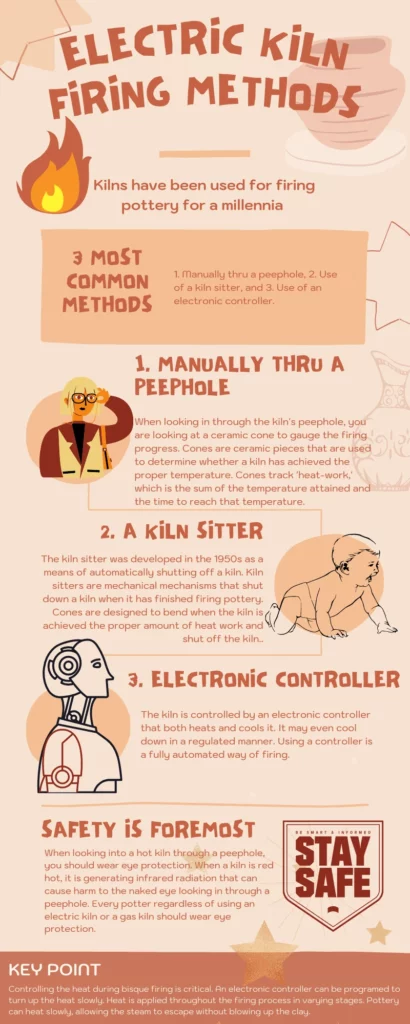
So when looking in through the kiln’s peephole, I am looking at a ceramic cone to gauge the firing progress. Cones are ceramic pieces that are used to determine whether a kiln has achieved the proper temperature and whether I have properly fired the pottery. Cones track ‘heat-work,’ which is the sum of the temperature attained and the time to reach that temperature.
Cones are also referred to as pyrometric cones, and even witness cones. They basically are just pieces of ceramic that are specifically designed to help you fire your pottery to the right amount of temperature and duration. The cones help gauge if the pottery in the kiln has gone through the changes needed to turn clay into ceramic.
When you look through the kiln’s peephole and see the cone starting to melt, then I know my kiln has reached or is reaching the right temperature in which will correctly fire my clay.
In short, I will not go into a lot of details regarding cones, but basically, they are numbered. The cone numbers correspond to different clays and glazes to be fired at different temperatures. So in short, the cone I use will depend on what materials I am firing.
Method 2 Using A Kiln Sitter
The kiln sitter was developed in the 1950s as a means of automatically shutting off a kiln. Kiln sitters are mechanical mechanisms that shut down a kiln when it has finished firing pottery. Cones are designed to bend when the kiln is achieved the proper amount of heat work.
Each cone is stamped with a cone number. You simply use the cone number that matches the clay or glaze you require. Then, when your kiln reaches the proper amount of heat, a sensing rod sitting on top of the cone falls. At the other end, it releases a claw which is a weight, and shuts off the kiln.
Cones measure the temperature, and time it takes for a kiln to heat. The kiln sitter switches off the kiln’s power source when the pyrometric cone softens and bends.
Kiln sitters are great and there are tons of potters who use them, but I do not choose to use cones for the simple reason it’s something else I have to buy and set up. It’s an extra step, in my opinion. I am sure there is something I am missing out on that perhaps I am not aware of. But I have managed just fine thought the years without using a kiln sitter.
I think of using a kiln sitter as part manual and part automated. It’s manual to first set up but then shuts off the kiln when the firing is over.
Although this method sounds simple, trust me, there is a lot more to it. For example, by using cones, you will need to experiment using different cones to get the right amount of heat. Many potters use a cone 7 to achieve cone 6 results. You will just have to see what works for you.
Also, cones are not foolproof. They can stick to the metal rod and thus cause your kiln to over or under fire. For over-firing protection, kilns have a timer in which you manually set each time before firing.
Method 3 Using An Electronic Kiln Controller
Now I am finally talking about my favorite way of firing clay. The kiln is controlled by an electronic controller (automatic kiln) that both heats and cools it. It even cools down in a regulated manner.
In the future I plan on building a kiln room and have my kiln vented to the outside. Having a kiln room will allow clay work to be created in a temperature controlled environment. The room temperature can be controlled as temperature rises. Who does not like to work in air-condition when it’s hot outside, right?
I have the option of using a pre-programmed Cone Fire mode or programming my own segments. I have total control over the entire firing process. When it’s safe to fire the pieces rapidly, pre-programmed settings turn the kiln up, and when it’s safe to stop the firing slowly, the kiln controllers turn down the heat.
Many kiln controllers use temperature charts to estimate when the required heat work is completed in order to determine when the kiln should be turned off. And this can vary depending on factors like how full the kiln is or the load. So, as a result, many potters will also use a witness cone along with using the controller.
Using a controller is a fully automated way of firing. I set the program, tell the controller how much heat and for how long, and also program the cool-down. Then I hit start, and the controller handles the rest. there is no need for me to turn the bottom switch and hold it there for several hours. The electronic controller takes care of all that every firing.
Every hour or so I check in on the kiln and see how the controller is doing. this is mainly a safety precaution.
It is very important to control the temperature to get a good firing, especially when doing a bisque firing.
Using The Electronic Controller During Bisque Firing
Clay naturally has a lot of water. Although it looks dry, it still holds water. If I fire the clay too fast, the water quickly turns into steam and will cause the clay to explode. And that is the last thing you want to happen in your kiln. Not only do you now have damaged artwork or pottery, but could also have a damaged kiln. Before firing clay should be in a state called bone dry or completely dry. Thicker pieces will take more time to dry than small pieces. When water is heated too rapidly inside the clay body, it turns to steam, which might cause the clay to explode. When this happens clay particles undergo a thermal shock.
So controlling the heat during bisque firing (reaching the precise bisque temperature) is critical. But when using an electronic controller, I can program the kiln to turn up the heat slowly. This allows me to control the firing schedule and firing temperature. Doing this manually many folks will keep a firing log with firing cycles and firing time. But using an electron controller I can apply heat throughout the firing process in varying stages. So basically it can heat slowly (controlling the whole firing), allowing the steam to escape without blowing up the clay.
Using The Electronic Controller During Glaze Firing
Once the clay has been fired, most of the water has been removed, so there is now less danger of escaping steam exploding the artwork or pottery.
Some glazes require different programming for firing due to the colors turn out much better when cooled slowly. Here is where the electronic controller comes to the rescue. Cool down-times can the automatically programmed in ahead of time.
If you have a manual kiln, you would turn the kiln off. But with an electronic controller, I can have a soak period or hold time at a specific temperature for a set duration.
This technique has the advantage of evening out the temperature within the kiln. This technique is great for when a kiln is densely packed. All the artwork in the kiln is then set to the right temperature before the next segment or program.
The biggest disadvantage of using an electronic controller on an electric kiln is if the power goes out. And even then it depends on when during the firing process the power goes out. If the power goes out during the segment when all the heat work is being done, then having witness cones is an enormous advantage. Since I do not use witness cones, I am in trouble, ha! All my artwork is perhaps lost. But if the power goes out during the start of the firing before all the heat work has been applied, then I will just restart the kiln.
References
Fraser, H. (2000). The electric kiln. University of Pennsylvania Press. https://books.google.com/books?hl=en&lr=&id=sBIQ1bRVe3IC&oi=fnd&pg=PA7&dq=electric+kiln&ots=_iQ-aQ2cls&sig=HAm_dYV4_E8rYqBrFI2WlU6xKbc#v=onepage&q=electric%20kiln&f=false


