


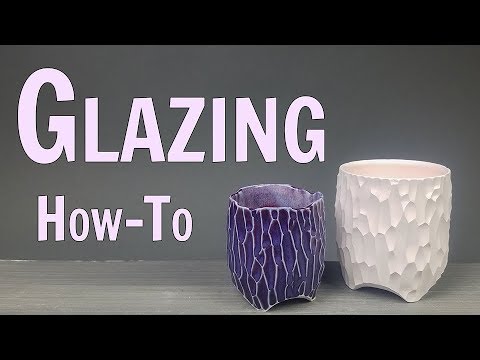


Hey there! These techniques can really elevate your pottery game. I’ll break down the steps for each method and sprinkle in some helpful tips along the way.
Dipping Method
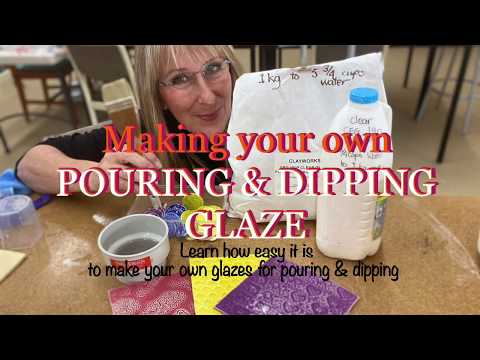
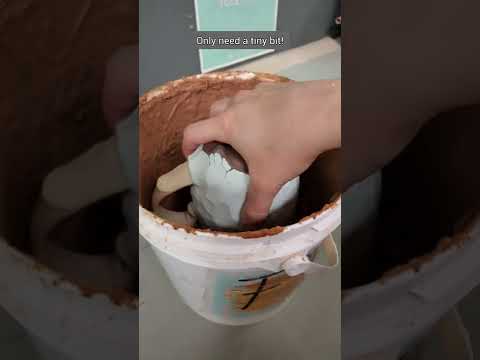
Step 1: Prepare Your Glaze
- Start by mixing your glaze thoroughly to ensure it’s well-distributed and smooth.
Pointers and Tips:
- Strain your glaze to remove any lumps or impurities for a smoother finish.
- Use a glaze hydrometer to check the consistency; it should be like heavy cream.
Step 2: Choose Your Pottery Piece
- Select the pottery piece you want to glaze and make sure it’s clean and dry.
Pointers and Tips:
- If your piece is too absorbent, you may need to bisque fire it first to reduce porosity.
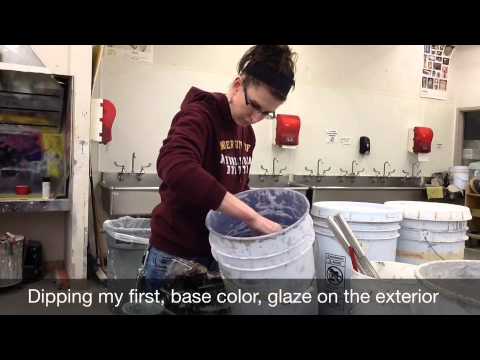
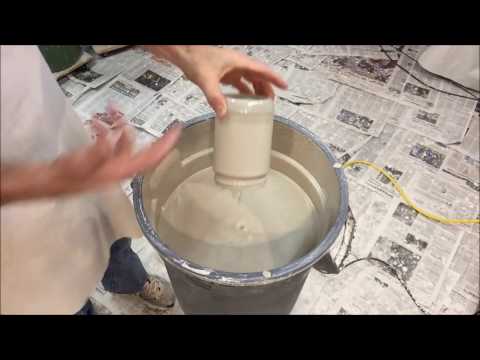
Step 3: Dip Your Piece
- Hold your pottery piece by the foot or handle and dip it into the glaze bucket.
Pointers and Tips:
- Dip quickly and smoothly to ensure even coverage.
- Allow excess glaze to drip back into the bucket.
Step 4: Clean the Base
- After dipping, clean any glaze drips from the base of your piece using a sponge or scraper.
Pointers and Tips:
- Be careful not to touch the glazed surface.
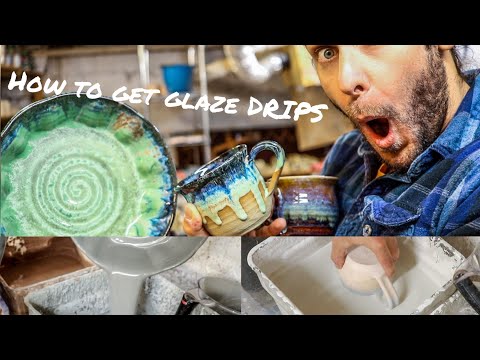
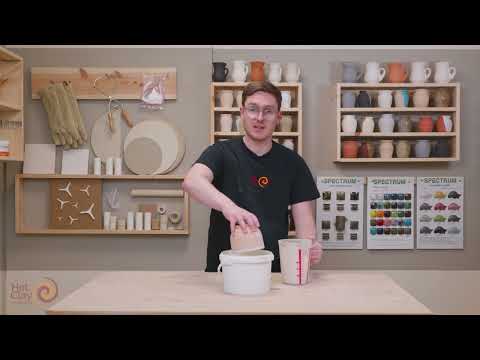
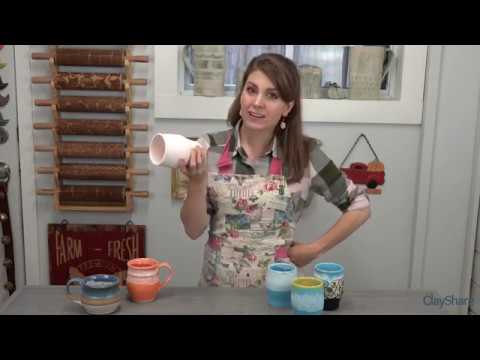
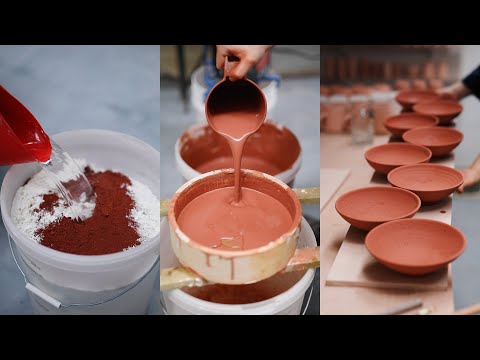
Pouring Method
Step 1: Prepare Your Glaze
- Follow the same glaze preparation steps as for dipping.
Pointers and Tips:
- Maintain the right consistency for easy pouring.
Step 2: Choose Your Pottery Piece
- Select a piece with a shape that’s conducive to pouring glaze, like a vase or pitcher.
Pointers and Tips:
- Ensure the piece is clean and dry.
Step 3: Pour the Glaze
- Pour the glaze into the pottery piece, rotating it to coat the interior evenly.
Pointers and Tips:
- Start with a small amount of glaze and build up layers if needed.
- Pour slowly and steadily to avoid air bubbles.
Step 4: Drain Excess Glaze
- Allow excess glaze to drain out and back into the container.
Pointers and Tips:
- Use a ware cart or a bucket to catch the drips.
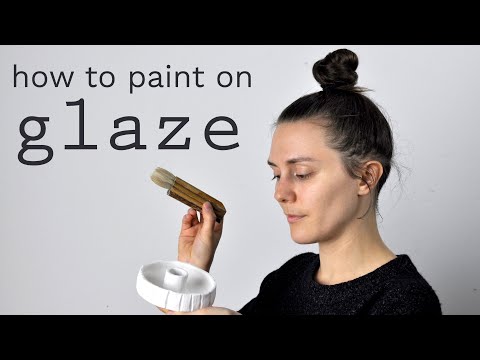
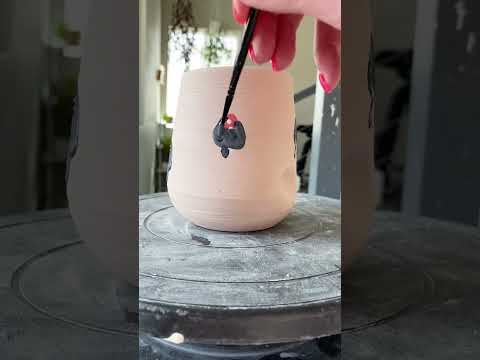
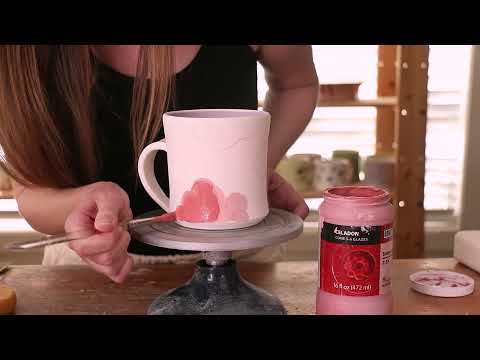
Brushing Method
Step 1: Prepare Your Glaze
- You guessed it – prepare your glaze just like before!
Pointers and Tips:
- Ensure your glaze is the right consistency for brushing.
Step 2: Choose Your Tools
- Select the right brushes for your design – soft, stiff, or fine brushes as needed.
Pointers and Tips:
- Keep separate brushes for different glaze colors to avoid contamination.
Step 3: Apply the Glaze
- Use your chosen brushes to apply the glaze to your pottery piece.
Pointers and Tips:
- Start with thin layers and build up as needed for a smooth finish.
- Pay attention to even coverage and brush in one direction for a clean look.
Step 4: Clean Up
- Clean your brushes and tools thoroughly after use to prevent glaze buildup.
Pointers and Tips:
- Keep a bucket of water handy for rinsing brushes between colors.
And there you have it, the scoop on glaze application methods. Whether you’re dipping, pouring, or brushing, these techniques will help you add that perfect finishing touch to your pottery creations. Remember to practice, experiment, and don’t be afraid to get your hands dirty , it’s all part of the art!


