


Hey there, pottery enthusiast! Today, we’re going to dive into the fascinating world of glaze mixing and how to create custom glaze colors and textures that will make your pottery stand out. I’ll walk you through the steps and share some nifty tips and pointers along the way.
Steps for Glaze Mixing
Step 1: Gather Your Materials
Before you start mixing your glaze, make sure you have all your materials ready:
- Dry glaze ingredients (feldspar, kaolin, silica, etc.)
- Water
- Glaze additives (colorants, opacifiers, etc.)
- Glaze calculation tools (scales, sieves, hydrometer, etc.)
- Safety gear (gloves, mask, goggles)
Pointers and Tips:
- Use high-quality glaze ingredients for better results.
- Ensure your workspace is well-ventilated and equipped with safety gear.
Step 2: Measure and Weigh
Accurate measurements are crucial when mixing glazes. Use a scale to weigh out the dry glaze ingredients according to your recipe or desired ratios.
Pointers and Tips:
- Be precise in your measurements to replicate glaze recipes.
- Double-check your measurements to avoid mistakes.
Step 3: Sieve the Ingredients
Sieve the dry glaze ingredients to remove any lumps or impurities. This step ensures a smoother and more consistent glaze mixture.
Pointers and Tips:
- Use a fine-mesh sieve to get rid of even the tiniest particles.
- Sieve your ingredients into a clean, dry container.
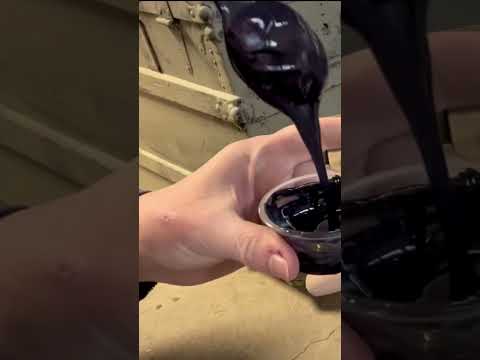
Step 4: Mix with Water
Gradually add water to your dry glaze ingredients while stirring continuously. The goal is to achieve the desired consistency, similar to heavy cream.
Pointers and Tips:
- Pour water slowly to avoid making the glaze too thin.
- Use a hydrometer to check and adjust the glaze’s specific gravity if needed.
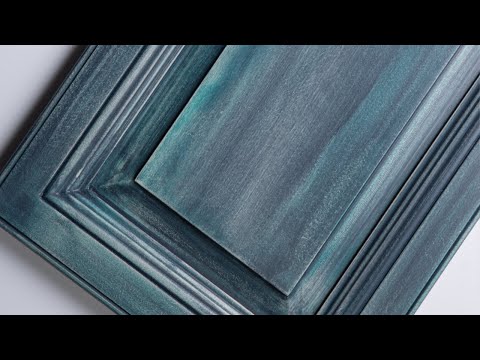
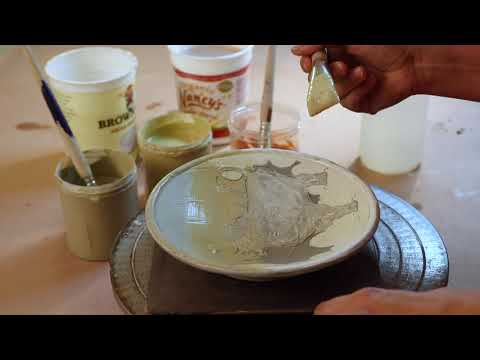
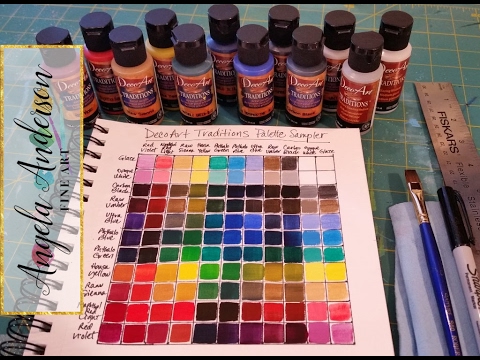
Step 5: Customize with Colorants and Texturizers
Now comes the fun part! You can add colorants (oxides and stains) and texturizers (rutile, talc, etc.) to your glaze mixture. These additives will give your glaze its unique color and texture.
Pointers and Tips:
- Start with small amounts of colorants and texturizers and gradually add more until you achieve your desired effect.
- Keep accurate records of the additives used to reproduce your custom glaze.
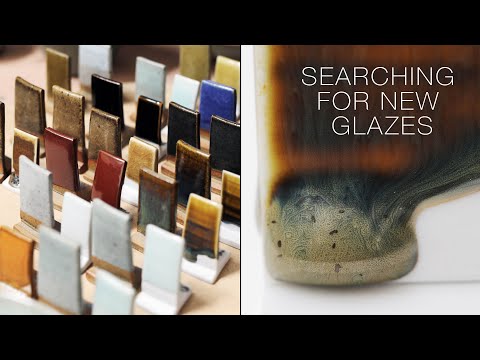
Step 6: Test and Adjust
Before applying your custom glaze to your pottery, it’s crucial to do some test firings. Apply the glaze to test tiles or small pieces to see how it reacts during firing.
Pointers and Tips:
- Keep detailed notes about each test, including firing temperatures and results.
- Don’t be afraid to make adjustments based on your test results.
Step 7: Store Properly
Once you’ve perfected your custom glaze, store it in airtight containers to prevent it from drying out. Label the containers with the glaze’s name, recipe, and firing temperature.
Pointers and Tips:
- Keep your glaze in a cool, dark place to maintain its consistency.
- Check the glaze periodically and add water if it thickens over time.
Voila! You’ve just learned how to mix your custom glaze colors and textures. Remember, glaze mixing is both a science and an art, so don’t hesitate to experiment and create pottery that truly reflects your unique style.


