


Hey there, fellow pottery enthusiast! Today, I’m going to spill the beans on how to use oxide washes to achieve those fantastic antique or weathered effects on your pottery. It’s a technique that can really make your pieces stand out. So, let’s dive in, step by step, and I’ll share some nifty tips and pointers along the way.
Steps for Using Oxide Washes
Step 1: Gather Your Materials
Before you get started, make sure you have all the materials you need:
- Oxides (iron oxide, cobalt oxide, copper oxide, etc.)
- Brushes
- Water
- Safety gear (gloves, mask, goggles)
Pointers and Tips:
- Always prioritize safety – wear your safety gear when working with oxides.
- Keep your work area clean and well-ventilated.
Step 2: Mix Your Oxide Wash
Start by mixing your chosen oxide with water to create an oxide wash. The amount of oxide you use will determine the intensity of the color.
Pointers and Tips:
- Start with a small amount of oxide and gradually add water to achieve the desired consistency.
- Mix thoroughly to ensure the oxide is well-dissolved.
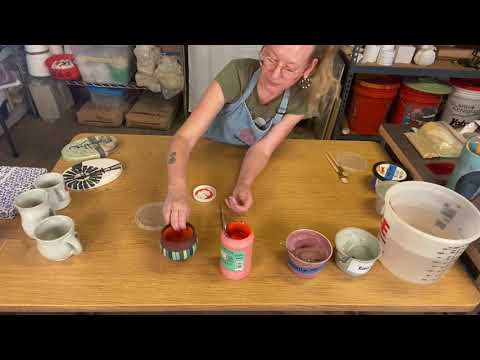
Step 3: Apply the Oxide Wash
Using a brush, apply the oxide wash to your pottery piece. You can be as creative as you like – apply it all over or in specific areas for highlighting.
Pointers and Tips:
- Experiment with different brush sizes and techniques for varied effects.
- If you’re going for an antique look, consider brushing the oxide into crevices and recessed areas to create depth.
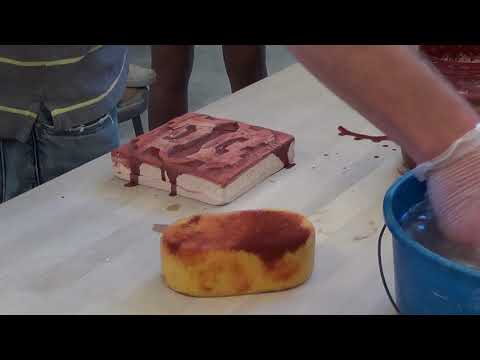
Step 4: Wipe Off the Excess
After applying the oxide wash, use a damp sponge or cloth to gently wipe off the excess. This will leave the oxide in the crevices and create that weathered or antique look.
Pointers and Tips:
- Be careful not to wipe off too much – you want to retain the desired effect.
- Use a soft sponge for a subtle look or a coarser one for a more pronounced effect.
Step 5: Allow to Dry
Let your pottery piece dry completely. This might take a few hours or more, depending on the humidity in your workspace.
Pointers and Tips:
- Don’t rush this step; allowing proper drying will help the oxide set and achieve the desired effect.
Step 6: Bisque or Glaze Firing
Once your piece is dry, you can either bisque fire it or apply a glaze for a final firing. The firing process will fix the oxide in place and give your pottery a finished appearance.
Pointers and Tips:
- Be mindful of the firing temperature and schedule to prevent unintended changes in your oxide wash.
Step 7: Final Touches (Optional)
After firing, you can add additional glaze layers or surface treatments if desired to enhance the overall look of your pottery.
Pointers and Tips:
- Experiment with different combinations of glazes and oxide washes for unique effects.
- Keep detailed notes on your techniques and results for future reference.
And there you have it, the lowdown on using oxide washes for that antique or weathered charm on your pottery. Remember, practice makes perfect, so don’t be discouraged if it doesn’t turn out exactly as planned on your first try. Keep experimenting, refining your techniques, and before you know it, your pottery will have that aged and rustic appeal you’ve been dreaming of.


