

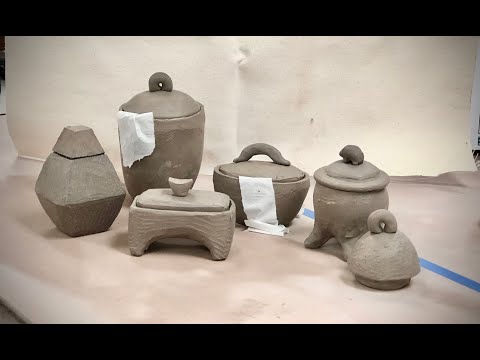
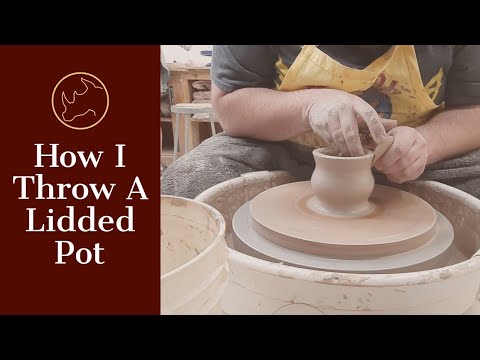
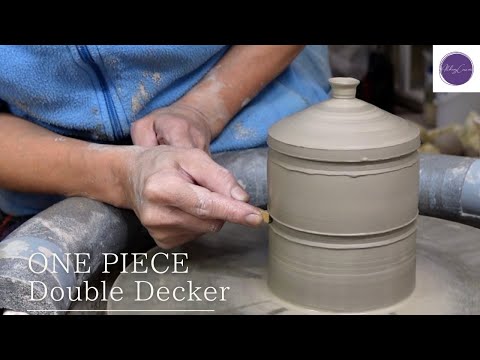

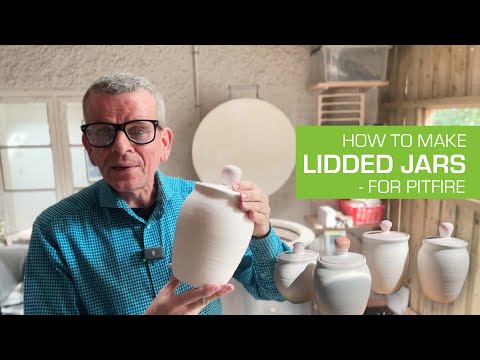
Alright, this is where pottery really gets fun and a bit intricate. Designing and throwing lids for pots is like adding the cherry on top of a sundae. It’s not just about making a lid that fits; it’s about creating a lid that complements and enhances the pot. Whether it’s for a jar, a casserole dish, or something else, mastering lids is a great skill in pottery. Let’s break down the steps and sprinkle in some handy tips.
Steps for Making Lidded Containers
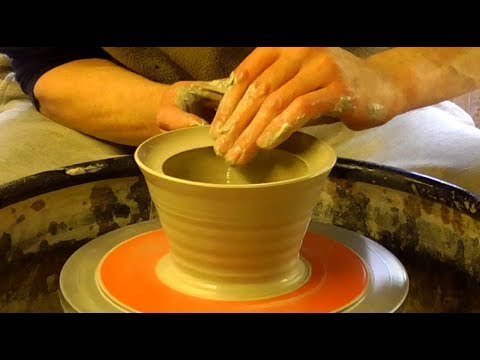
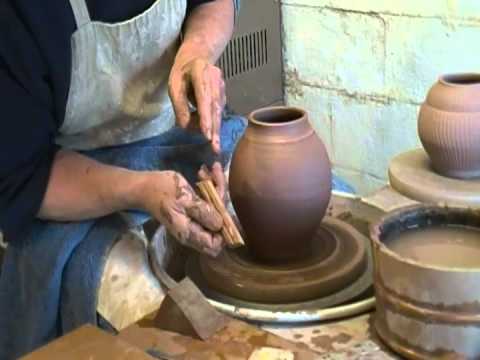
- Throwing the Pot: First things first, you need a pot. Whether you’ve just thrown one or you’re working with a leather-hard piece, make sure it’s well-shaped and the rim is smooth and even.
- Measuring for the Lid: Using calipers, measure the diameter of the pot’s opening. This will be the size of the inner lip of your lid.
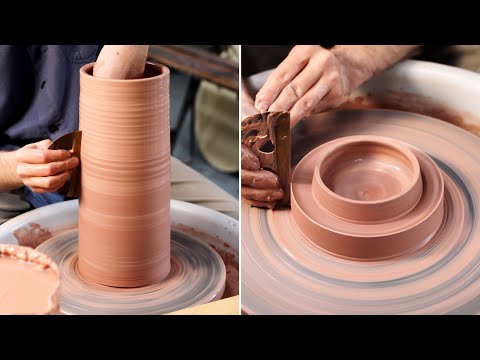
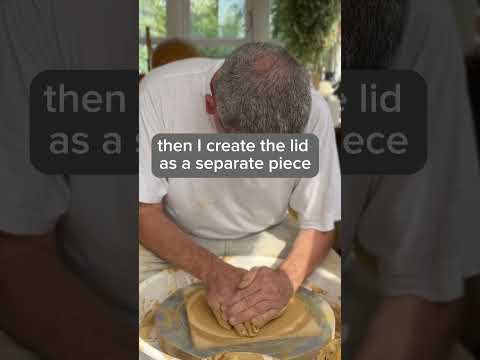
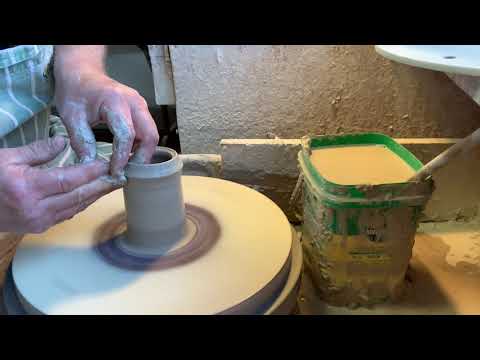
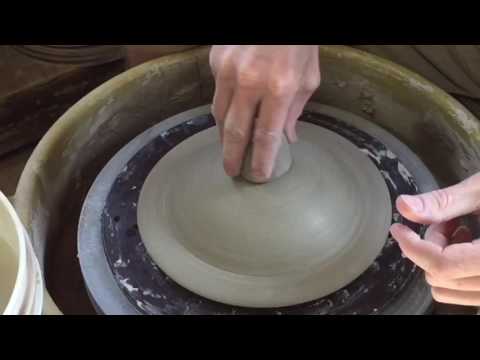
- Throwing the Lid: Center a ball of clay on the wheel to start your lid. As you open the clay, keep in mind the measurement of the pot’s opening.
- Forming the Flange: The flange is the part of the lid that sits inside the pot’s rim. Throw this part to fit the measurement you took earlier.
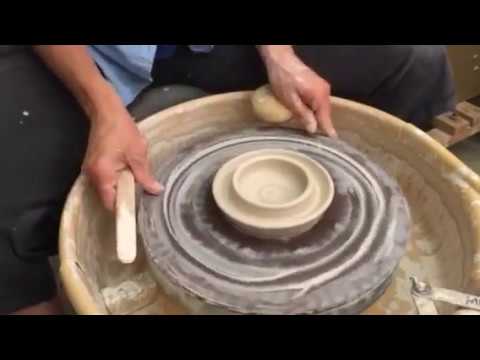
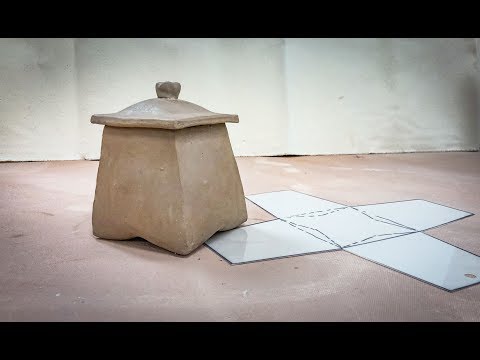
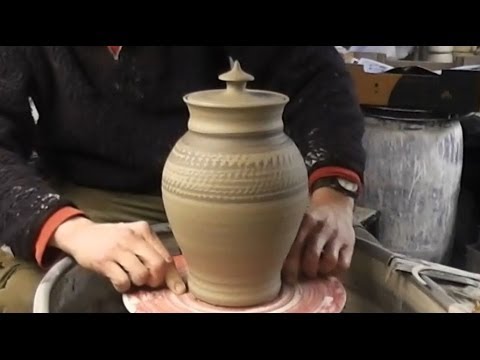
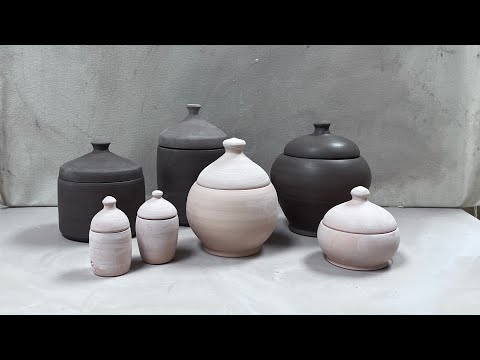
- Shaping the Lid: Once the flange is shaped, form the top part of the lid. This can be domed, flat, or any other style that fits your design.
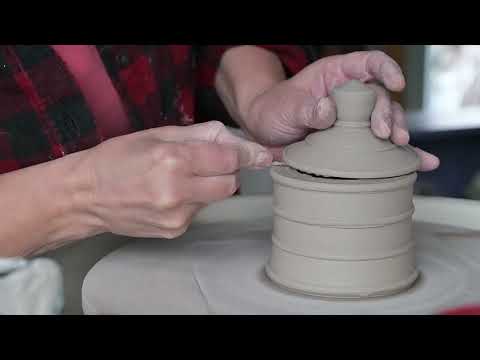
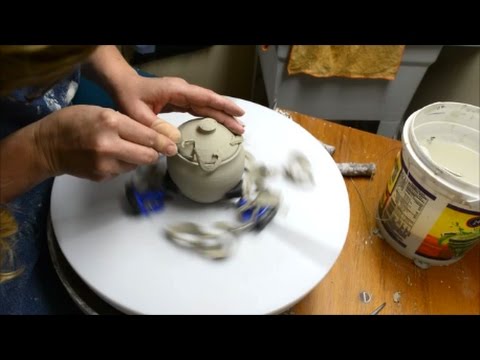
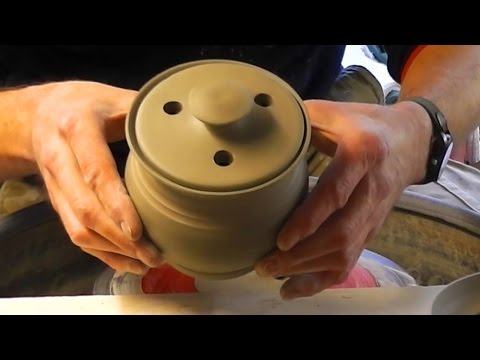
- Trimming and Refining: After the lid has set up a bit (leather-hard stage), trim any excess clay and refine the shape. This is also the time to add any knobs or handles.
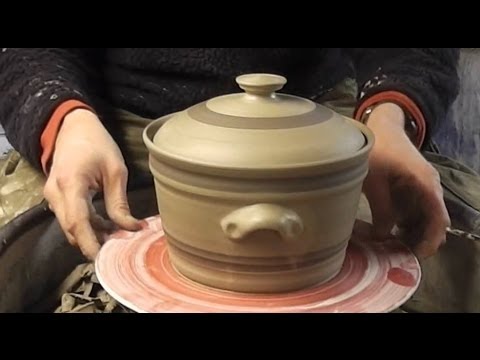
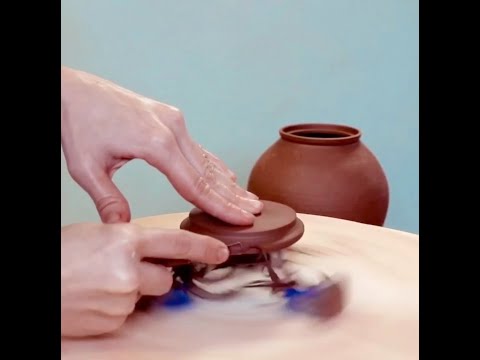
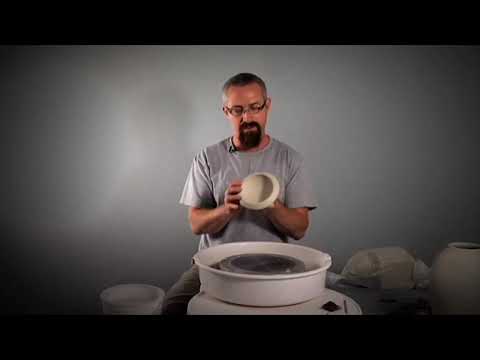
- Ensuring a Perfect Fit: Test the lid on your pot. It should fit snugly but not too tight. Adjust as necessary.
My Tips and Pointers
- Precision in Measuring: Accuracy is key when measuring the pot’s opening. Even a small error can make the lid unfit.
- Symmetry Matters: When throwing the lid, aim for symmetry. A lopsided lid is often a misfit lid.
- Room for Shrinkage: Remember, clay shrinks when it dries and fires. Allow a tiny bit of extra space for the lid to fit after firing.
- Consistent Thickness: The lid should be of consistent thickness to avoid warping or cracking during drying and firing.
- Adding Character with Knobs: The knob or handle on the lid is not just functional; it’s a design element. Have fun with it!
- Dry Together: If possible, dry the pot and lid together to ensure a continued good fit.
- Patience in Drying: As with all pottery, dry slowly to prevent cracks or warping.
My Final Thoughts
Making lidded containers is a delightful challenge in the pottery world. It’s about combining functionality with aesthetics. And there’s something really satisfying about a well-fitting lid, isn’t there? It’s like solving a beautiful, clay puzzle. So, take your time, enjoy the process, and before you know it, you’ll be creating pots with lids that are not just functional, but also add to the beauty and uniqueness of your work.


