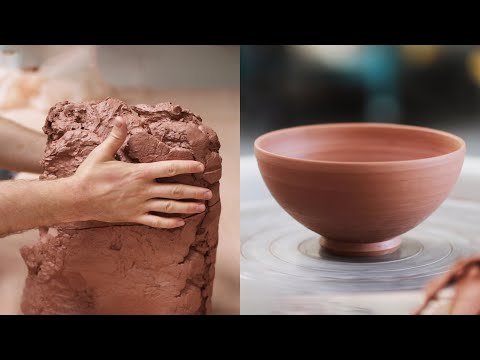


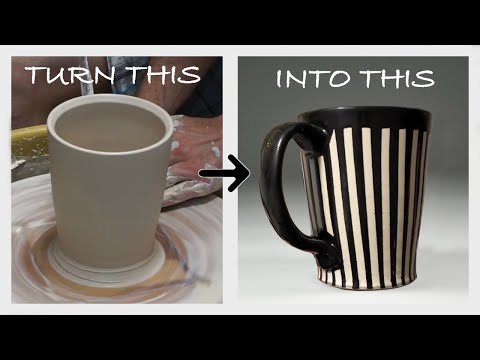
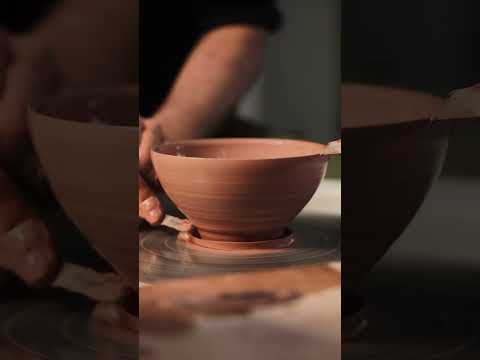
Hey there! Let’s talk about one of the most satisfying parts of pottery. This is where your piece really comes into its own, getting that final touch that transforms it from a simple clay form into a polished work of art. Whether it’s a bowl, a mug, or a vase, proper trimming and finishing can make all the difference. Let’s dive into the steps and share some tips to make your pottery shine.
Steps in Trimming and Finishing
- Waiting for the Right Consistency: Timing is everything. Your piece should be leather-hard – not too wet, and not too dry. It should feel like a hard cheese, where it’s firm but still carvable.
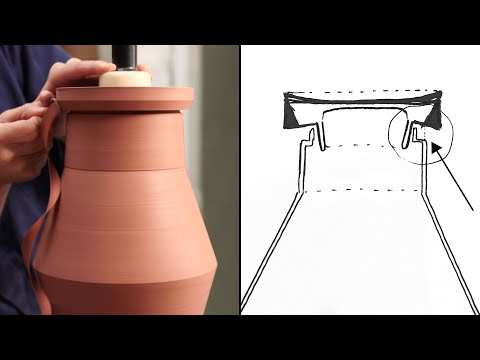
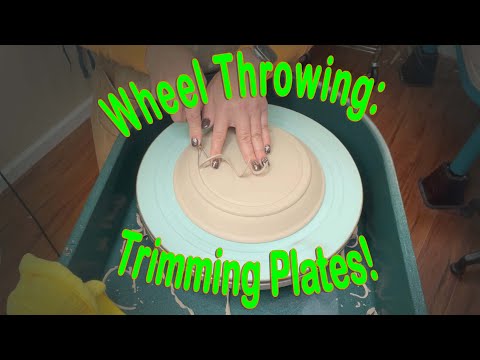
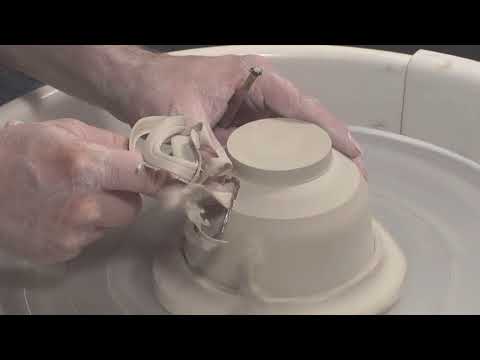
- Attaching the Piece to the Wheel: Center your piece upside down on the wheel. Use small coils of clay to secure it in place, ensuring it won’t wobble or shift while you trim.
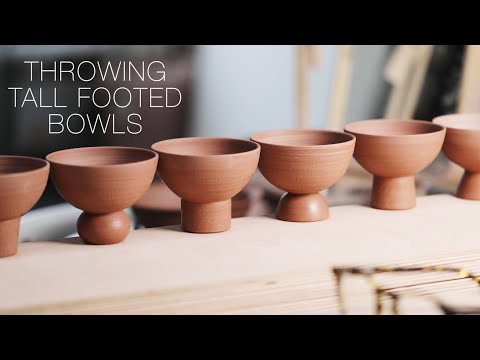
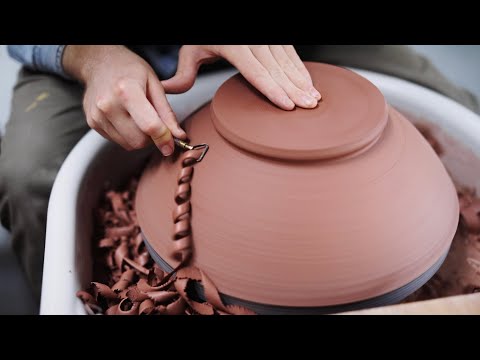
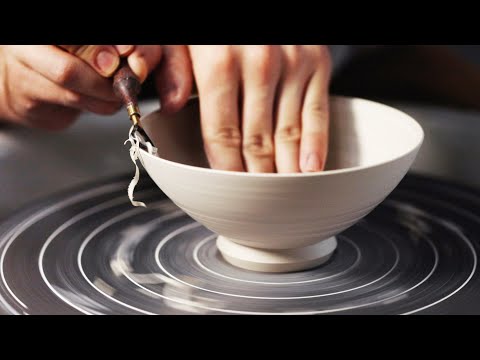
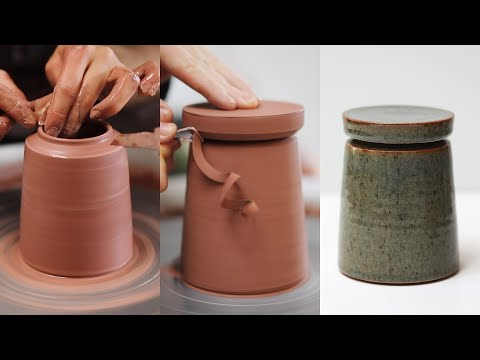
- Trimming the Base: Start the wheel and use your trimming tools to gently carve away excess clay from the bottom of your piece. This is where you form the foot ring, smooth out any unevenness, and create a stable base.
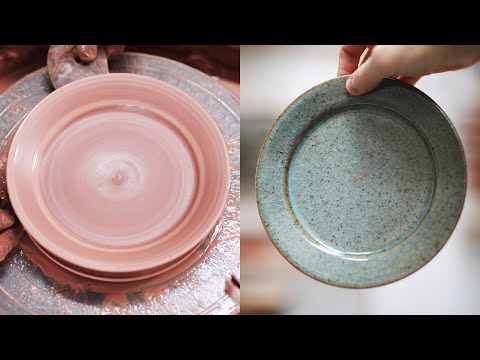
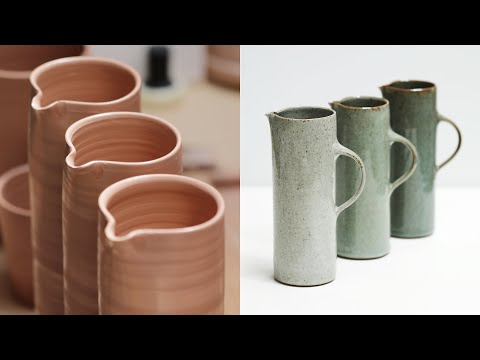
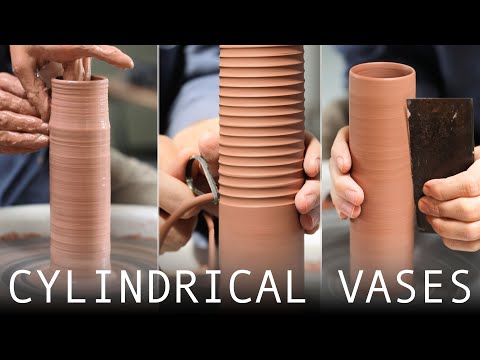
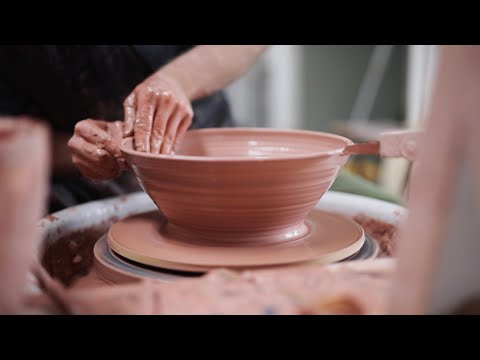
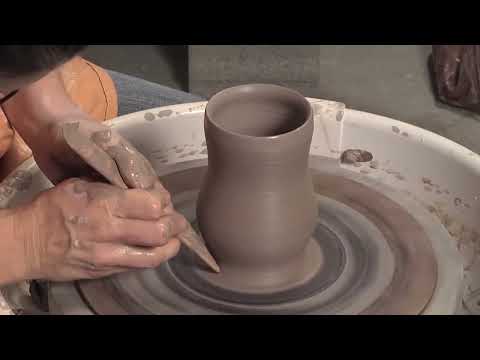
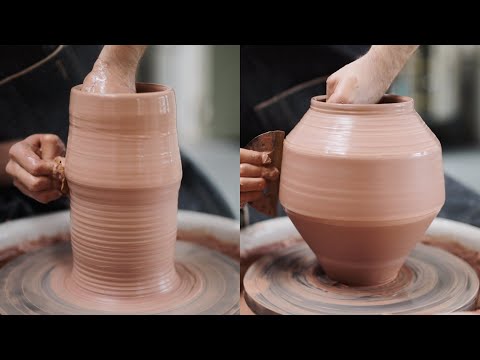
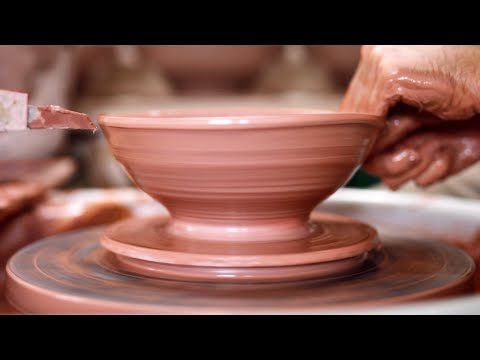
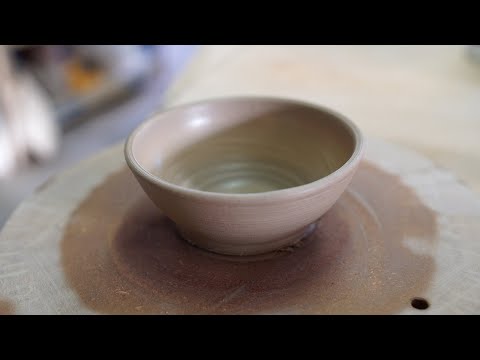
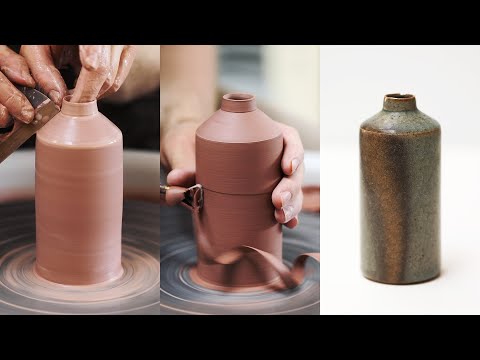
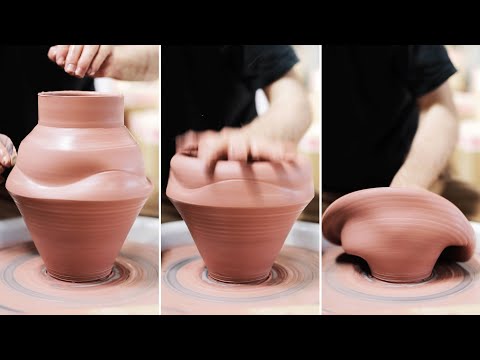
- Refining the Shape: After the base, refine the overall shape of your piece. Trim away any excess to enhance its silhouette and balance.
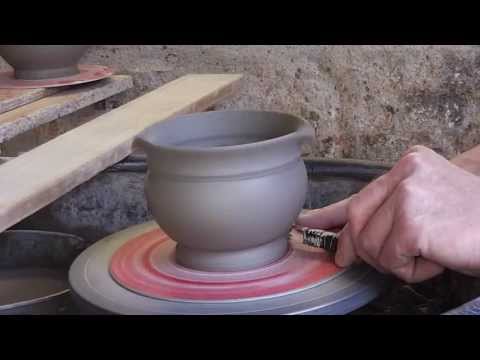
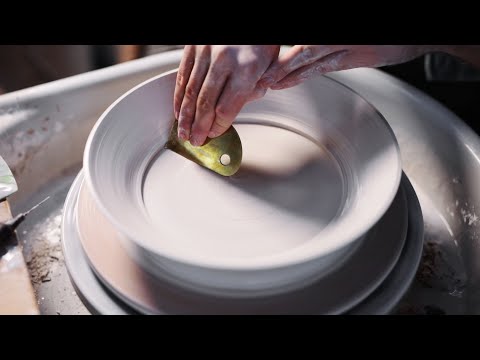
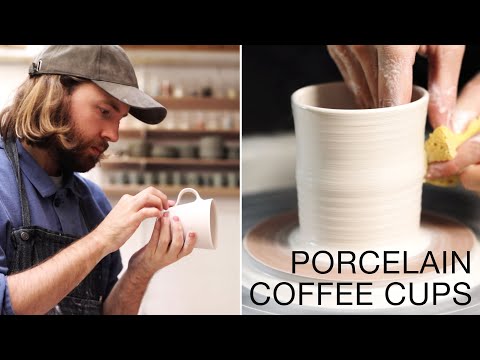
- Smoothing Surfaces: Once the shape is as you want it, smooth out the surfaces. You can use a metal rib for a smooth finish or add texture according to your design.
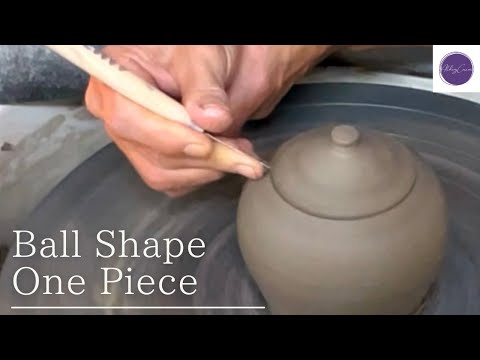
- Adding Final Details: This is the time for any last-minute design touches – carving, impressing patterns, or anything else that adds character to your piece.
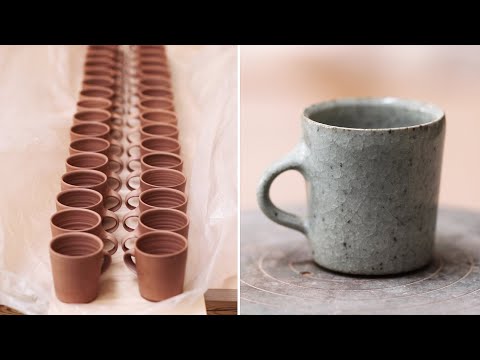
- Drying Completely: After trimming and finishing, let your piece dry completely. This can take several days depending on the size and thickness of your piece.
My Tips and Pointers
- Steady Hands, Steady Wheel: Keep a steady hand and a consistent wheel speed for even trimming.
- Don’t Go Too Deep: Be careful not to trim too deeply, especially near the bottom. You don’t want to puncture through your piece.
- Continuous Checking: Frequently stop and check your progress. It’s easy to take off too much, but you can’t put clay back on once it’s trimmed away.
- Even Foot Ring: Pay attention to the foot ring. It should be even and well-formed for your piece to sit flat and stable.
- Use the Right Tools: Different trimming tools create different effects. Experiment to find which ones work best for your designs.
- Respect the Clay’s Condition: If the clay feels too soft, let it dry a bit more before trimming. If it’s too hard, trimming will be difficult and may damage your tools.
- Patience in Drying: After finishing, allow your piece to dry slowly to prevent warping or cracking.
My Final Thoughts
Trimming and finishing are where your piece really comes together and takes on its final form. It’s a process that requires patience, a gentle touch, and an eye for detail. Remember, each piece is unique, and every bit of trimming and finishing you do adds to its story. So take your time, enjoy the process, and watch as your thrown pieces transform into beautiful, finished works of art.


