Using The Method
It is an ancient method for firing pottery. Pit Firing goes back to 25,000 to 29,000 BCE. Unfired pots are grouped together in the ground and are surrounded by combustible materials. The pit is set on fire. After cooling, pots are cleaned and sometimes waxed, creating a smooth glossy finish. Random patterns and colors are left by ash and salt deposits after firing.
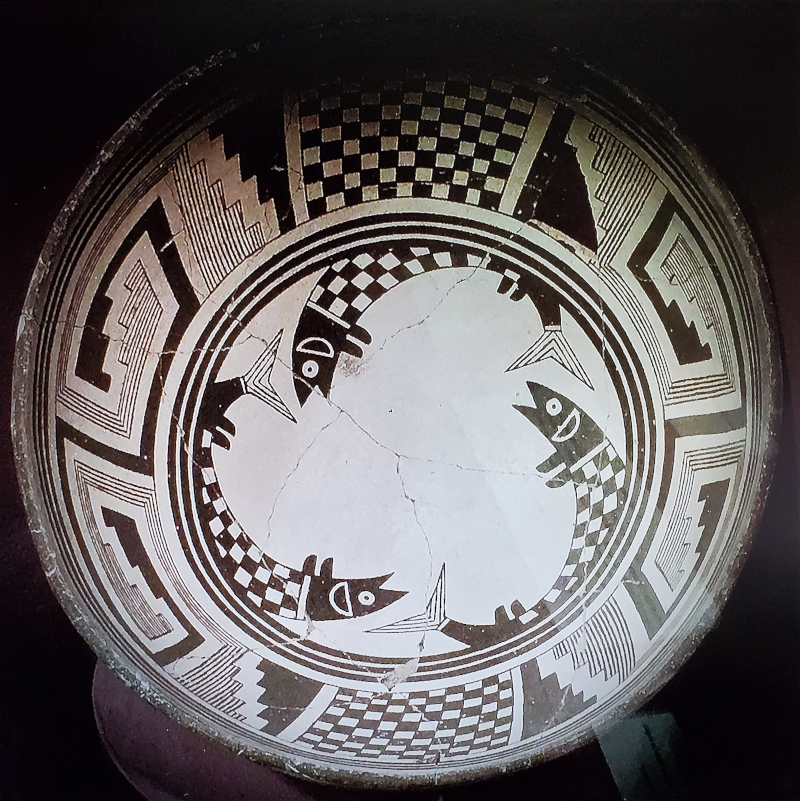
Pit firing is not only an ancient method of firing pottery but is the oldest method known. Pit Firing predates the use of kilns. The earliest kilns date back to around 6000 BCE (Before the Common Era – alternatives to BC and AD notations). Pottery has been an important part of many cultures like the Pueblo people mentioned above.
Pit firing typically reaches temperatures of 1,000 C or 2,000 F. these temperatures are considered moderate as compared to more contemporary firing methods. Pottery fired using the Pit Firing method is viewed as Earthenware.

Pit Firing Is Considered A Primitive Firing Technique
It’s also considered to be a traditional firing technique as well. Pit firing is practiced in many cultures around the world and is still widely used. It’s considered something that can be accomplished in your own backyard and, therefore, is popular with many studio potters because you can fire pottery without or fire clay without a kiln.
It’s important to note not all clays are suitable for pit firing. Modern clays are more refined as opposed to using clay dug directly from the earth. If you are interested in using commercial clays, then I would recommend looking into getting a Raku clay.
Common iron clays or red clay work well for pit firing, or smoke firing. Another popular question, and you maybe asking is if low fire clays are safe?
Pit Firing Short Summary

Below, I summarize pit firing. This is not meant to be a complete tutorial on pit firing but rather intended to give you a general idea of the technique and how much work is involved.
All the colors and patterns are generated from the pit firing (low temperature) process and what is consumed in the fire. Combustibles that are burnt transform into vapors, which swirl about the pots in the pit. Depending on the temperature and if the pots reach the right temperature for the clay pores to open, the colored smoke vapor will enter and stay in the pore. Otherwise, the pot will be white or will have a black to gray color.
1. Dig A Pit
A pit of the appropriate size is dug. The size of the pit is highly dependent on the number of pots to be fired and the size of the largest pot. Most pits are dug to be at least to be deep enough to cover the largest pot plus additional room overhead for the addition of more combustibles. This can be anywhere from a few inches to a foot or so.
2. Pottery Is Placed
The pottery is placed on top of a bed of dry leaves and twigs (usually nestled together), possibly coal, which will burn slowly, at the bottom of the pit. Some potters will line the pit with stone or fieldstone. This method can create additional colors and can help with raising the temperature during firing.
3. Pottery Is Covered In Combustibles
Then more leaves, twigs, pine needles, coffee grounds, and manure, (organic materials or organic matter) if available, are then used to cover the work, forming a mound over the pieces. This will create different effects. After the stacking of all the combustibles is complete the pit is set on fire. Depending on what you use for a combustible, your colors will change.
Using banana peels (Green and Gray Colors) or manure (Green, Black, Gray, Brown, and Yellow colors) for example can change the color of your pots. Many potters will wrap their pots in copper wire to create a unique effect. Depending on the wire, the pots will have nice Red, Black, Blue, Green, and White colors transferred onto the pottery. Leaves and grass clippings are a favorite due to their abundance. These combustibles usually produce Green and Brown colors. In addition, sawdust is often used, and it creates nice Blueish Gray, Black, and Gray colors. And lastly, there are powered colorants that can be used as well. Some potters will also cover the top of the pit with moist clay.
4. The Pit Is Set On Fire
The edges of the pit are set on fire and carefully tended. The pit is left to smolder for several hours or all day. Once the pit is on fire it’s not a good idea to add more combustibles due to this will cause the pit’s temperature to decrease until the new combustible catches on fire. This action stops the smoke vapor from circulating and clay pores from opening. Plus, adding more weight to the bring pit could cause you to accidentally breaking your pottery.
5. The Pit Is Extinguished
To bring the process to an end the pit is covered in dirt or sand. This cuts off all the oxygen in the pit. By removing all the air the pit fire is extinguished. But could cause more breakage. Some potters just let the fire burn out.
6. Pottery Is Cleaned
After a period of cooling, the pots are uncovered, cleaned, waxed, and polished. Usually, it’s the next day when you can dig through the ashes and reclaim your pots. It’s not uncommon to have many pots not make it through the pit firing and break. Depending on how skilled you are, you could have anywhere from 30% to 50% or so in breakage.
References
Reber, E. A., Kerr, M. T., Whelton, H. L., & Evershed, R. P. (2019). Lipid residues from low‐fired pottery. Archaeometry, 61(1), 131-144. onlinelibrary.wiley.com/doi/abs/10.1111/arcm.12403
https://upload.wikimedia.org/wikipedia/commons/6/61/Mimbres_fish_pot%2C_MRM.jpg
https://upload.wikimedia.org/wikipedia/commons/0/00/Arizona%2C_hopi%2C_otre_con_testa_di_katsina%2C_1890.jpghttps://upload.wikimedia.org/wikipedia/commons/0/00/Arizona%2C_hopi%2C_otre_con_testa_di_katsina%2C_1890.jpg
Gosselain, O. P. (1992). Bonfire of the enquiries. Pottery firing temperatures in archaeology: What for?. Journal of Archaeological science, 19(3), 243-259. sciencedirect.com/science/article/abs/pii/030544039290014T
Maritan, L., Nodari, L., Mazzoli, C., Milano, A., & Russo, U. (2006). Influence of firing conditions on ceramic products: experimental study on clay rich in organic matter. Applied Clay Science, 31(1-2), 1-15. sciencedirect.com/science/article/abs/pii/S0169131705001122
Vuković, J. (2018). Late Neolithic Vinča pottery firing procedure: Reconstruction of Neolithic technology through experiment. Opvscvla archaeologica, 39(1), 25-35. https://hrcak.srce.hr/clanak/313034
Maggetti, M., Neururer, C., & Ramseyer, D. (2011). Temperature evolution inside a pot during experimental surface (bonfire) firing. Applied Clay Science, 53(3), 500-508. sciencedirect.com/science/article/abs/pii/S016913171000308X


